
A comprehensive, step by step guide to changing a violin string safely, securely and efficently … and so that it stays in tune!
Changing the string of a violin doesn't need to be daunting!
Let's take a look at how to remove an old string and replace it with a new one.
We'll carefully consider all the steps of the process, so that you can avoid the string snapping, slipping out of place, or causing any other problems!
It's best to change violin strings one at a time so that you don't disturb the setup of the bridge.
Remember that the bridge - and the soundpost inside the violin - are only held in place by the tension of the strings.
This means that if you remove more than one string at the same time, the bridge can become unstable.
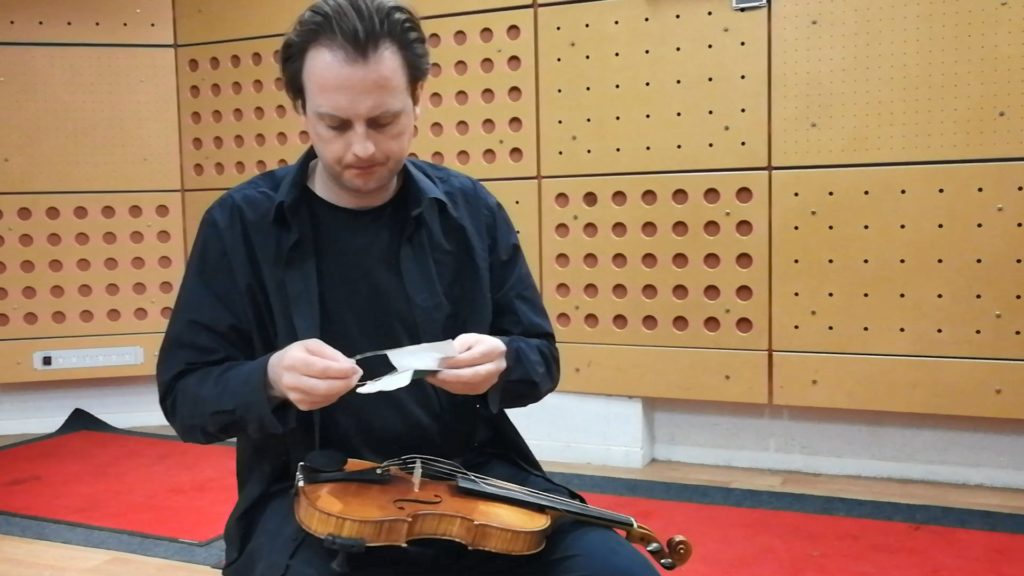
We're going to assume that you already have a replacement string, ready to use!

Remember that the type of string can greatly affect the sound of the violin.
You may wish to experiment with different types of string and see which brand works for you.
Strings can break for a variety of reasons, and sometimes with no warning.
So it's a good idea to have a set of spare strings with you at all times in your violin case.
This will allow you to replace the string, and keep playing… without having to trek to a violin shop or wait for an online order to arrive!
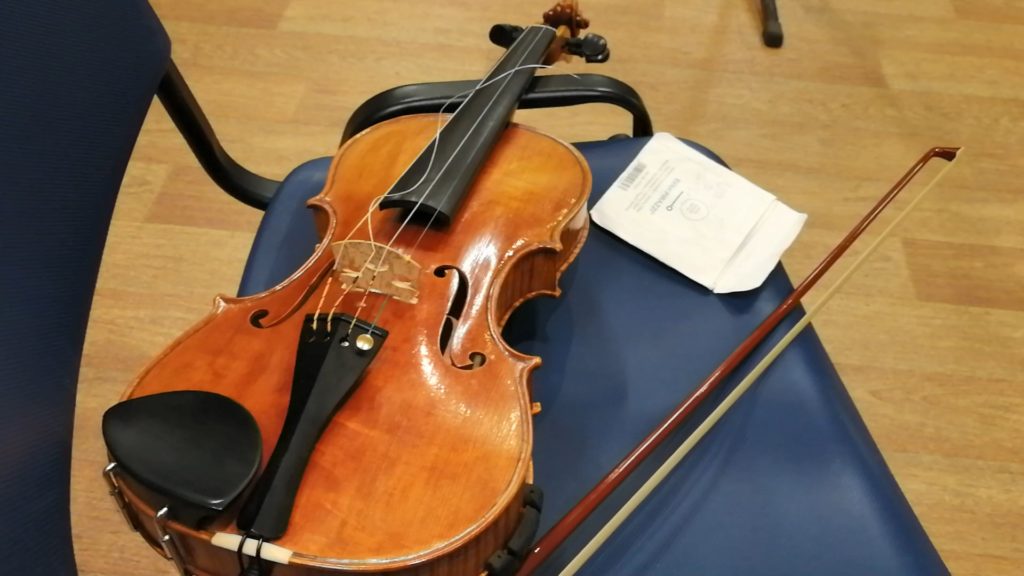
First, place the violin in a secure position, such as on your lap. It's important to make sure that the instrument doesn't slip out of place when you're changing a string.
Firstly, remove the old string. You'll need to gently unwind the peg so that the string is loosened.
Keep turning until the top end of the string pops out of the hole in the peg, then you can simply pull it away from the violin.
Then detach the other end of the string from the violin's tailpiece. Some strings have a 'ball end', which means there's a small ball in the loop at the bottom end of the string.
To help this type of string out of the hole in the tailpiece, you may need to wiggle it a bit before it comes loose!
Other strings have a 'loop end', which is exactly the same but without the ball - so the bottom end of the string simply forms an empty loop.
This type of string can be easily secured or removed by placing the loop on or off the hook that you'll find on the fine tuner.
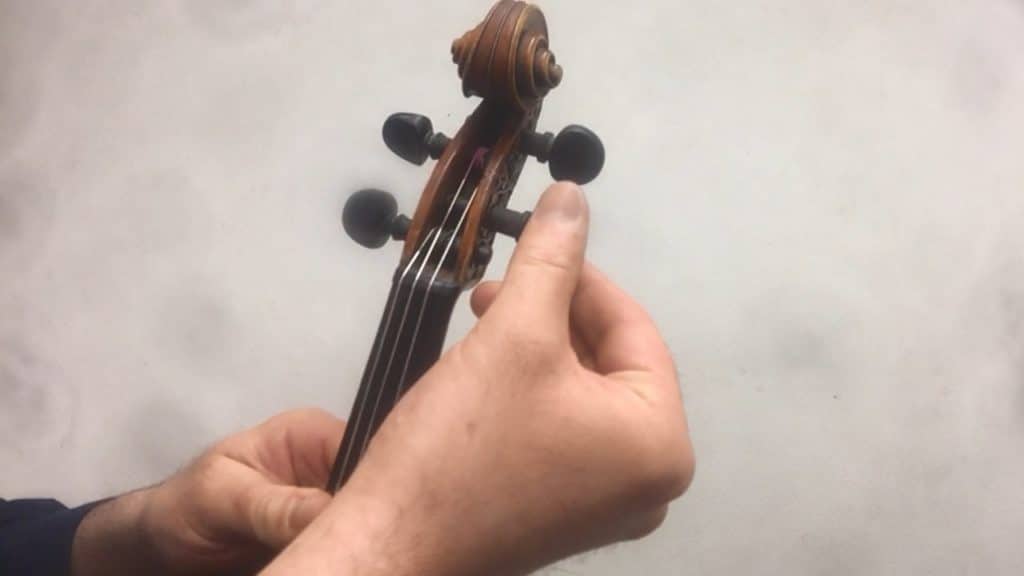
Before starting the string replacement, you should check the condition of the peg to make sure it will be smooth and secure when you put the new string in.
Make sure that the peg is clean. If not, the pegs can stick and squeak, and they won't turn smoothly!
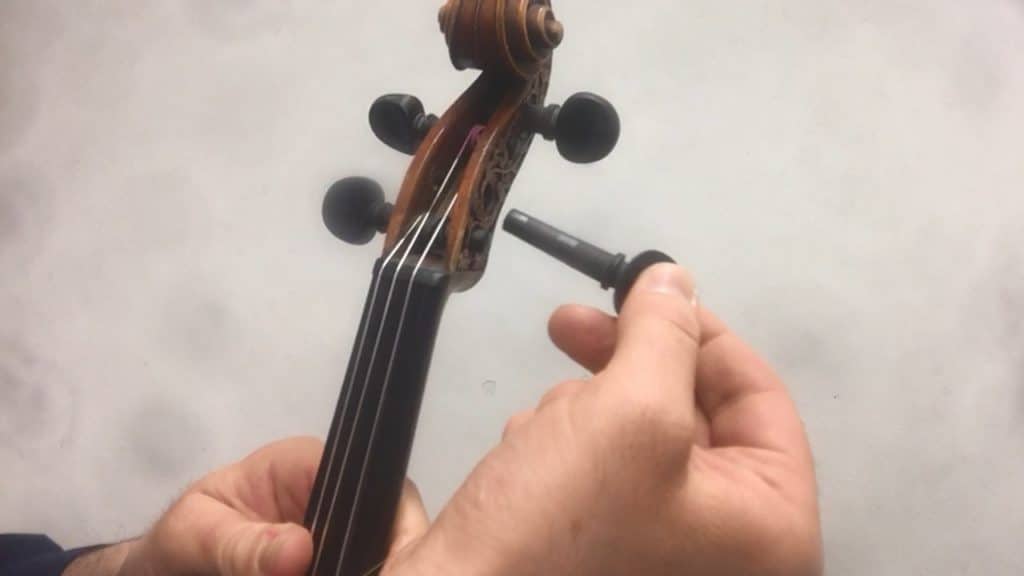
If you've taken the peg out of the pegbox, put it back in, but only halfway. Or if you didn't take the peg out, then pull it out of the hole just a little bit.
The aim is to make sure that the hole in the middle of the peg is visible and accessible, so that we can put the end of the string through the hole.

Make sure that the hole is not on the wrong side of any of the other strings.
If you start to thread the string through the peg when the hole is on the 'wrong' side of another string, you might end up with the strings crossing each other in the pegbox.
This doesn't work, as it can compromise the pitch and tone quality, as well as making the strings unstable.
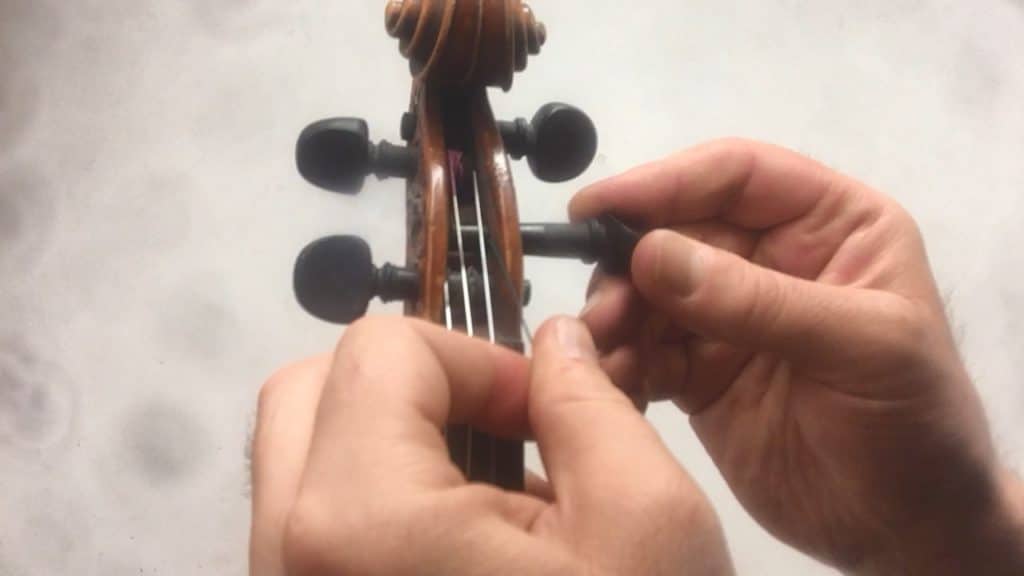
Once the hole in the peg is facing you, thread the end of the new string through the hole.
The string will poke out a tiny bit on the other side of the peg.
If you push it all the way in, you can usually feel the end of the string hit the back of the pegbox, so you know you've gone far enough.
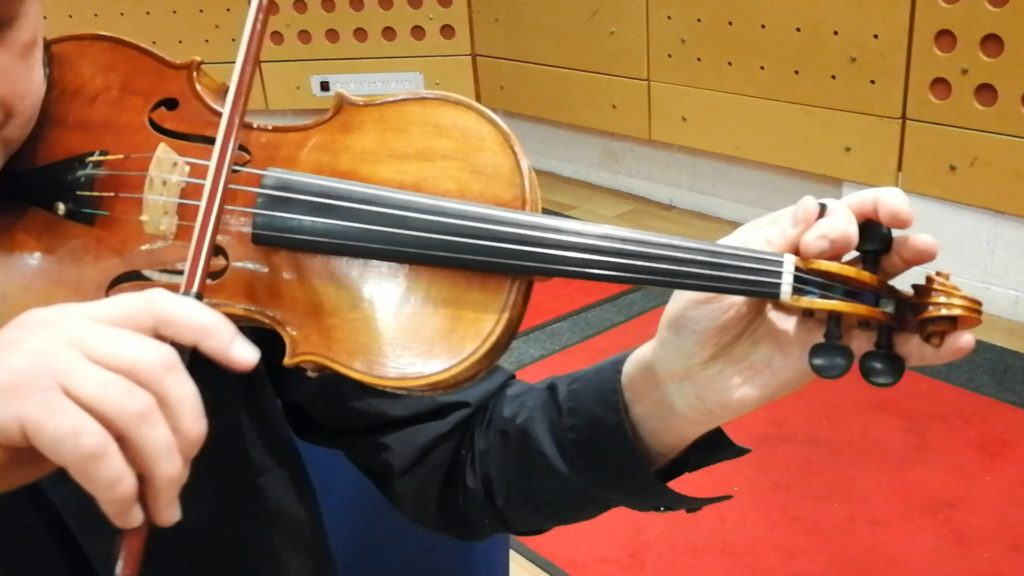
Once the string is poking out from the other side of the hole, you'll need to turn the peg a few times to secure the string in place.
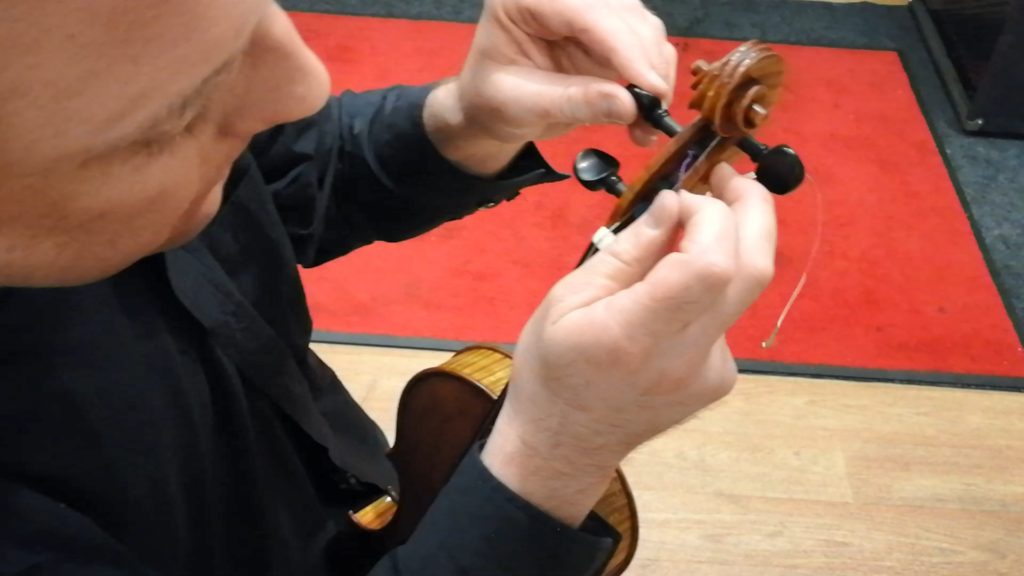
Make sure to turn the peg AWAY from you, not towards you, so that tension is held on the upper side of the peg. This way round, the top portion is angled more in line with the rest of the string, which reduces wear and tear.
As you turn the peg, you can use an adjacent string to guide you as you wind the string. The aim is to keep the string in a tidy coil as it winds onto the peg.
Once the top end of the string is well-coiled, you'll start to reach the end of the coloured wrapping at the top of the string.
At this point it's necessary to push the peg in, towards the pegbox, so that it is secure and there is enough friction between the peg and the hole of the pegbox.
This friction is very important… it's what holds the peg in place!
Once most of the coloured covered part of the string has been wound around the peg, hold everything in place with your weakest hand.
With your strongest hand (so, your right hand if you are right handed), reach for the other end of the string.
If your string has a 'loop' end, loop it onto the hook just above the fine tuner.
If your string has a 'ball' end, insert it into the hole in the tailpiece, and make sure that it's secure.
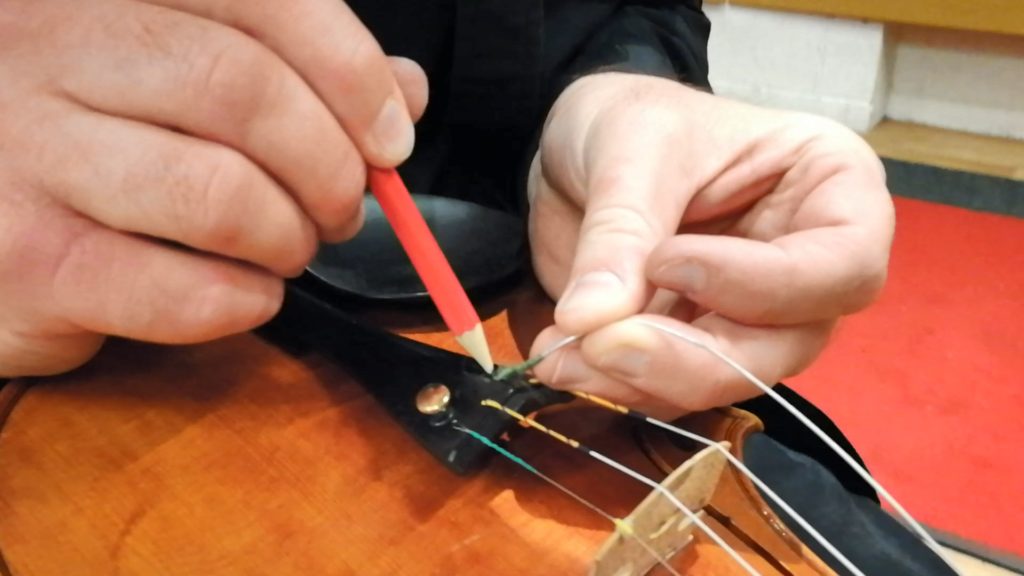
Sometimes it can be hard to insert the 'ball end' of a string into the tailpiece hole.
So if you need to, use a pointed object, such as a sharp pencil, to help push the ball downwards.
But if you do this, be really careful not to slip, as you could easily damage the varnish of the violin!
Once the bottom end of the string is securely attached, hold the string tense, so that both ends remain secure.
Your other hand should still be holding the peg firmly in place, because if you let go now, the string will uncoil, and you'll have to start all over again!

Without releasing the tension in the string, move your hand slowly back up towards the top of the violin, until both hands are within reach of the pegs.
Start to wind the peg slowly away from you, until the string is no longer loose, but not yet fully tightened.
Once there is enough tension in the main area of the string, you'll be able to let go of the string, and it will stay in place.
Once you've done this a few times, experience will tell you when the string is tight enough that you can let go of the string and it will stay in place!
Until then, you'll need to assess it visually and by feeling it. If the string is tight enough between the nut and the bridge, you will be able to pluck it and it will vibrate enough to produce a definite pitch.
When the pegs are turned and the tension in a string increases, pressure is applied to the bridge in the direction of the peg box.
Over time, this will pull the bridge until it slants away from the tailpiece. If this is not monitored and corrected, it will eventually collapse!
That's why it's a good idea to check the vertical position of the bridge each time you change a string.
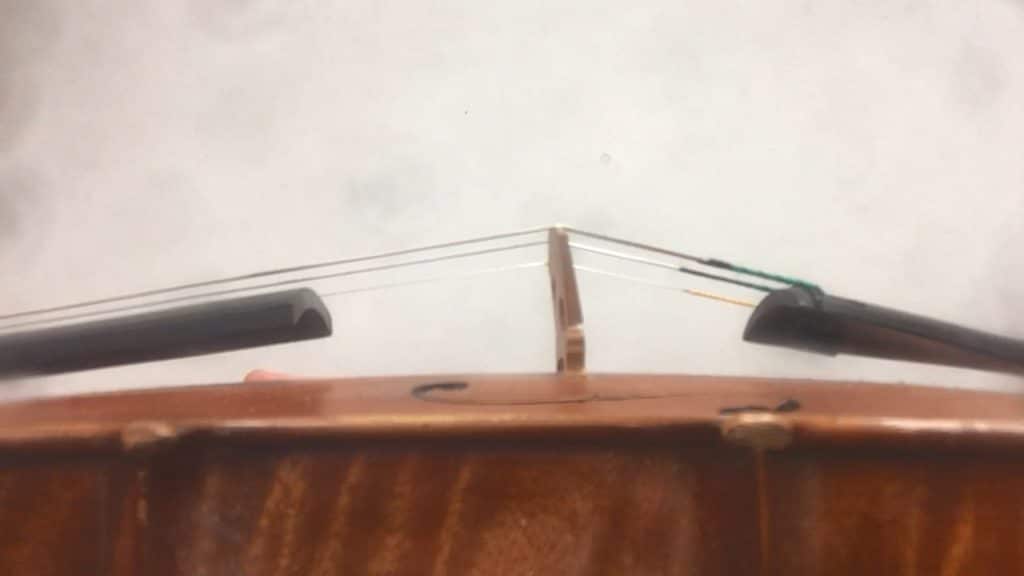
If the bridge position does require correction, use one hand to apply VERY gentle upward pressure to the strings, just below the bridge.
Be extremely careful … if you push too hard, you could snap a string or the bridge could collapse. And if you don't push enough, the bridge won't be able to move.
Very slowly and gently, use your other hand to apply pressure to the top of the bridge in the direction of the tailpiece. Nudge the bridge carefully back into an upright position, so that it is no longer slanting.
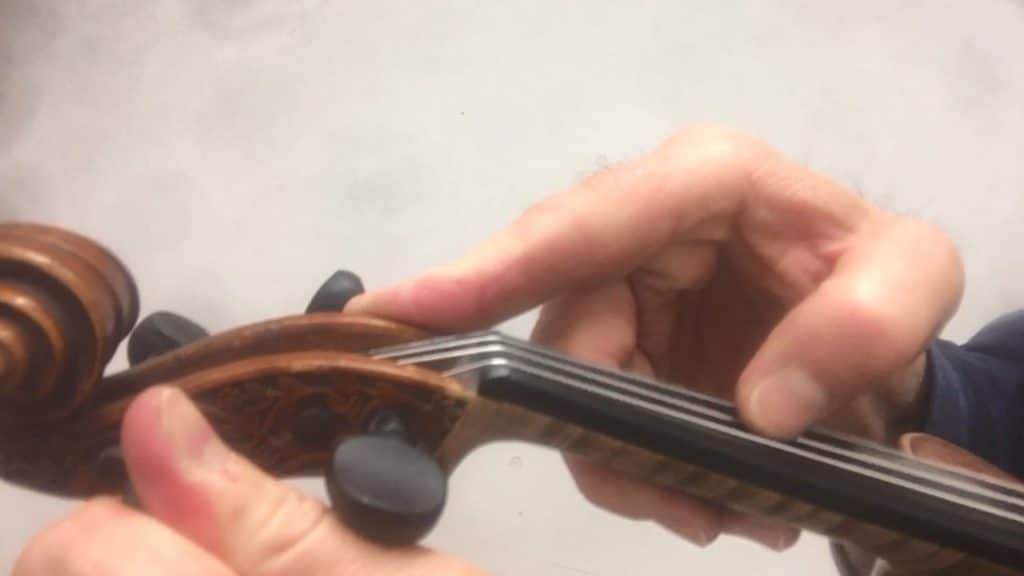
Changing a string is also a good opportunity to check that the bridge is still in the correct horizontal position.
Look directly at the face of the violin, and check the G and E strings are both positioned correctly in relation to the edge of the fingerboard. If the strings of the violin appear to be too far in one direction, you will need to re-centre the bridge position.
Secure the violin on your lap, then hold the bridge tightly using both hands. Slowly and gently, nudge it in the required direction until the strings are correctly aligned on the fingerboard.
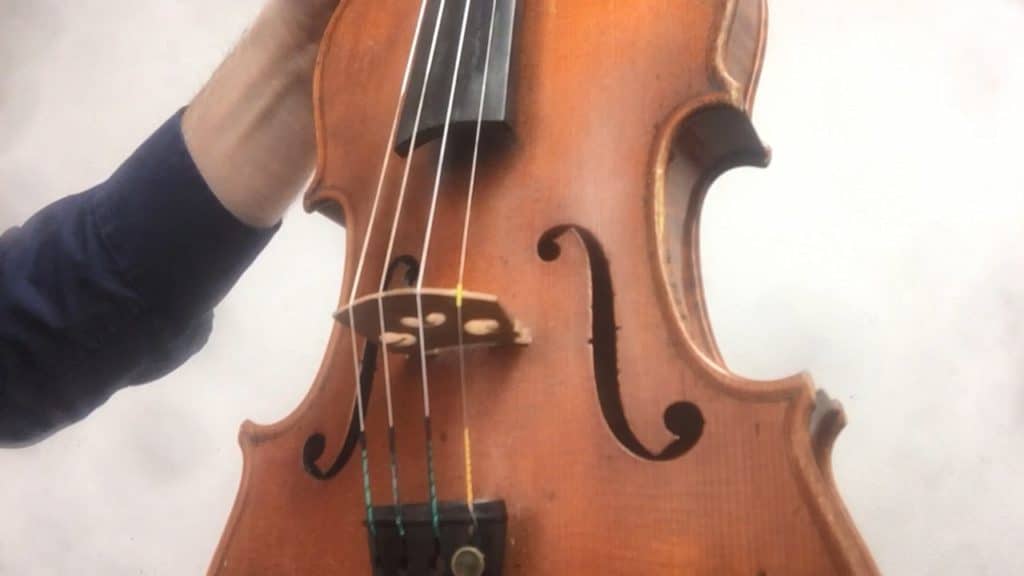
Once the string is in place and the bridge position is checked, there's one more task that some strings require, before being tightened and tuned.
Many E strings (and some A strings) have a little coloured tube attached to them. The purpose of the tube is to provide extra support between the string and the bridge. It stops the string from cutting into the bridge.
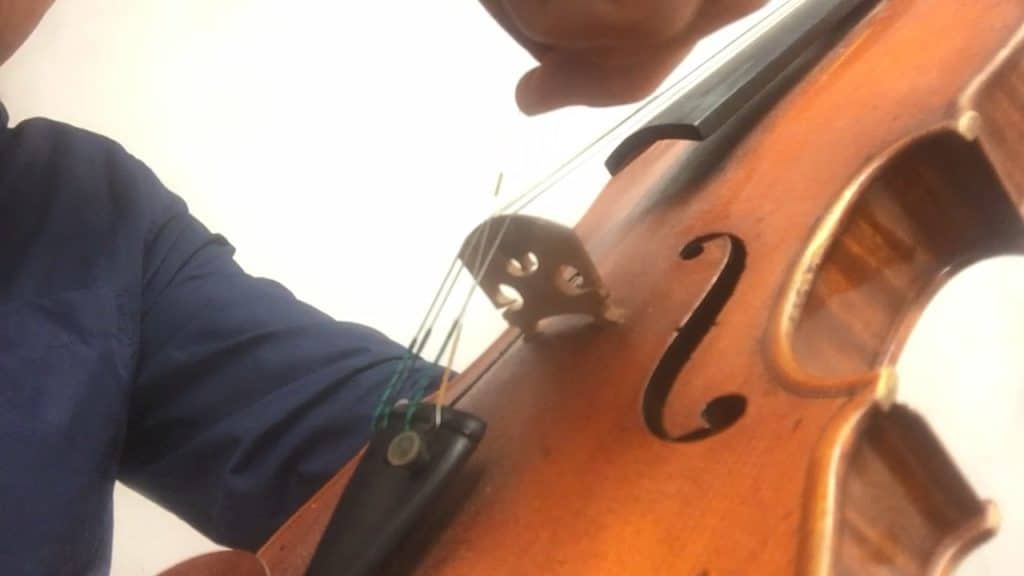
If the string you're changing does have a tube, then slide it along the string until it reaches the bridge.
Depending on how tightly you have already wound the string, you may need to loosen it very slightly in order to lift the string away from the bridge momentarily.
As you do so, slide the coloured tube so that it is sitting directly on top of the bridge of the violin, supporting the string.
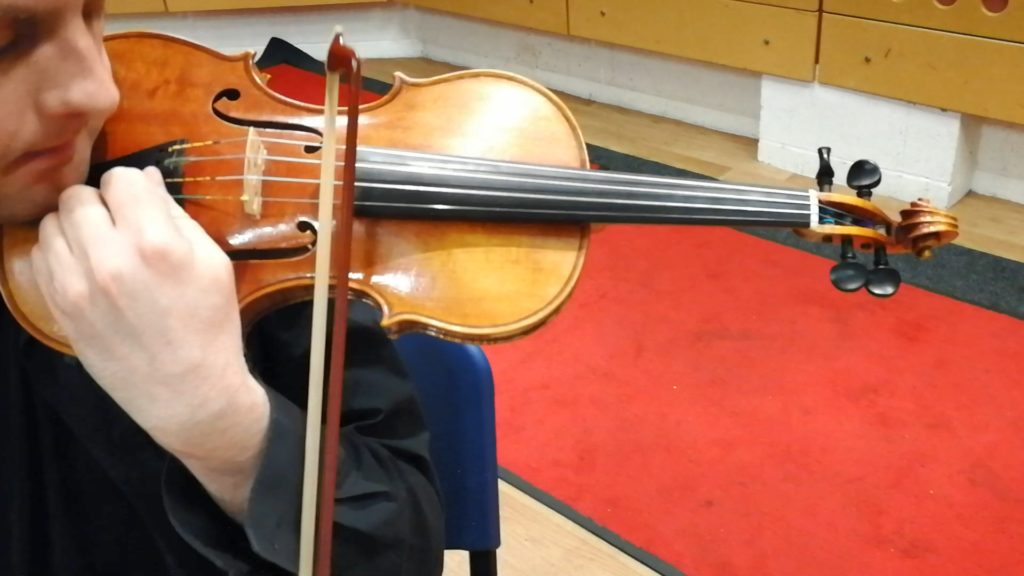
Once everything is ready, continue winding the string around the peg.
As you slowly wind it away from you, the string tension will increase, and you will start to hear the pitch of the string increase.
Keep plucking the string as you turn, so you can hear the pitch emerging, and the frequency increasing.
Remember, whatever you do, don't turn the peg too quickly… if you go too far, you'll snap the string!
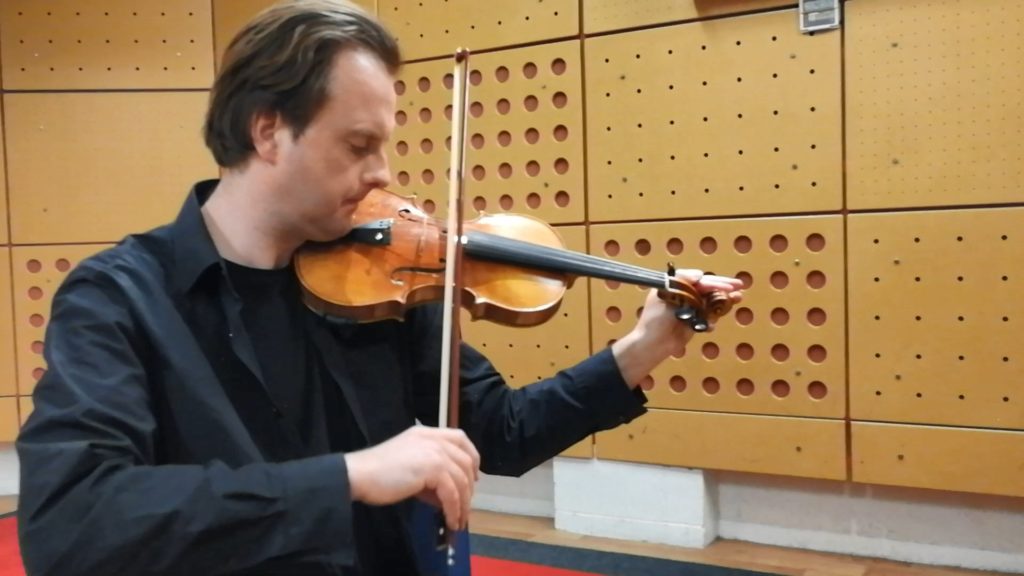
Now it's time to tune the strings. Check out our feature, 'How to Tune a Violin' and follow the steps there to get your violin in tune.
Make sure that you check the other strings as well as the one you've just changed. The changing tension in your new string is likely to have changed the pitch of the other strings as well.
Even a small adjustment to one string can immediately have an effect on another.
For this reason, there's not much point in trying to get your new string perfectly in tune until you've checked the other strings haven't gone too far out of tune as well.
Once your new string is installed, and tuned to 'approximately' the right pitch, you can roughly check all the other strings, before coming back to the new string and tuning it for a second time.
You can then do a second 'round' of tuning (and if necessary, a third!).
Once each string is at approximately the right pitch, you can focus on individual strings and make sure they have precisely the right level of tension (and pitch).
At this point you can also use fine tuners, if you have them!
Remember that a new string can take a while to 'settle' as it gets used to the new level of tension.
Sometimes this can take several days, or even a few weeks! So you are likely to need to tune the new string several times more than usual in the first few hours of playing.

For this reason, it's a good idea to avoid changing the strings just before an important performance.
We also recommend keeping spare used strings in your violin case, as well as spare new strings.
Then if a string breaks just before or during a performance, you can change to a string that's already been stretched and settled on the violin.
If there's anything else you'd like to know about changing a violin string that's not covered by this feature, just email our Learning Support team at [email protected] and we'll be very happy to help you!
There's a lot to know about getting a violin ready to play!
So if you've found this feature useful, then check out our free course, 'Get Set Up', which covers all the essentials, from finding and selecting a violin to bows and accessories to chin and shoulder rests.
Click here to explore ViolinSchool's free 'Get Set Up' online course!
Please visit our sponsors:
London String School - Tuition for Adult Learners in London
MusicLand - Creative Music Products for Teachers and Learners
Please visit our sponsors:
FiddlerShop.com - Quality instruments at an affordable price
London String School - Tuition for Adult Learners in London
MusicLand - Creative Music Products for Teachers and Learners
