
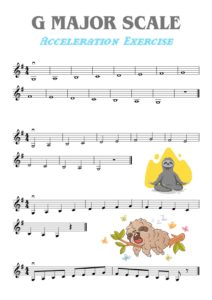
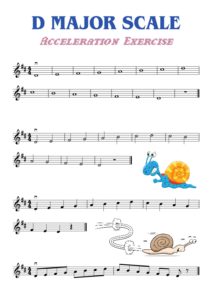
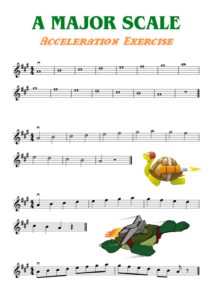
These new Scale Acceleration Exercises from Online Beginner Course A will help you to drill in your scale patterns in G, D and A major.
Once you've mastered the basic pattern, play through each scale using a long rhythm value (the exercise starts with a 4-beat semiquaver/whole note).
Then, play it again, but halve the note value to a 2-beat minim/half note. It'll feel like you're playing the scale much faster! And you'll be having to place the fingers in just half the time.
(Intermediate and Advanced players can do exactly the same thing with bigger scales that go into different octaves!).
We recommend using a metronome to help you maintain a secure pulse. Only change note on a metronome beat, to be sure that you are playing in time.
Before long, you'll find that you reach the limit of what you can currently do, and you'll find it hard to keep up with the metronome. When this happens, just go back a step, and practise the previous exercise (longer note values) a bit more.
At this point, you can also slow down your metronome beat and repeat the exercise at a slower speed. This will give you more time to clearly visualise your finger placement action.
Do this a few extra times to drill the pattern deeper into your muscle memory, and then try it again at a higher speed!
Learning the violin is a life journey. Whatever attracted you to start, whether it was a particular performance, the uniquely beautiful sound of the violin, a desire to learn a new skill or the fact you had always wanted to play an instrument, there’s a lot of fun ahead. For more advanced students too, as you deepen your relationship with the instrument and the repertoire, there is always more to learn.
Progress takes diligence and patience, but there are certain things you can do that will keep you on the right track. These ten violin-playing tips can be followed at every level of playing and will have a really positive impact on your experience of the violin. Treat yourself to an immersive, holistic learning journey. If you’re stuck, if your practice feels stagnant, or progress has ground to a halt, use these ten tips as a checklist for progress.
There are many low-cost student violin kits on the market, and some of them are really horrible! They sound bad, look cheap, and even the most experienced professional would find them hard to play. Shop around for the best instrument you can afford. Nobody expects you to turn up to your first lesson, or even your 101st lesson, with a Stradivarius, but you will learn better if the violin works well.
There are plenty of good student sets too, and an experienced luthier will be able to improve a low-cost instrument by refining the set-up. Ask your teacher’s advice before buying a violin and talk to your violin shop about fitting a good violin bridge. If you don’t want to commit straight away, many dealerships offer rental options while you look around for the right violin to buy.

The cost of violin lessons can seem high, but one-to-one time with an experienced tutor is invaluable. Your teacher will assess where you are in the learning process and which skills you need to work on. A skilled musician will direct your learning and identify problems before you develop bad habits. One-to-one lessons offer a great opportunity for development. Modern technology gives the opportunity to have wonderful learning experiences wherever you are in the world. Many students now have violin lessons over Skype with their teacher in a different city or even continent.
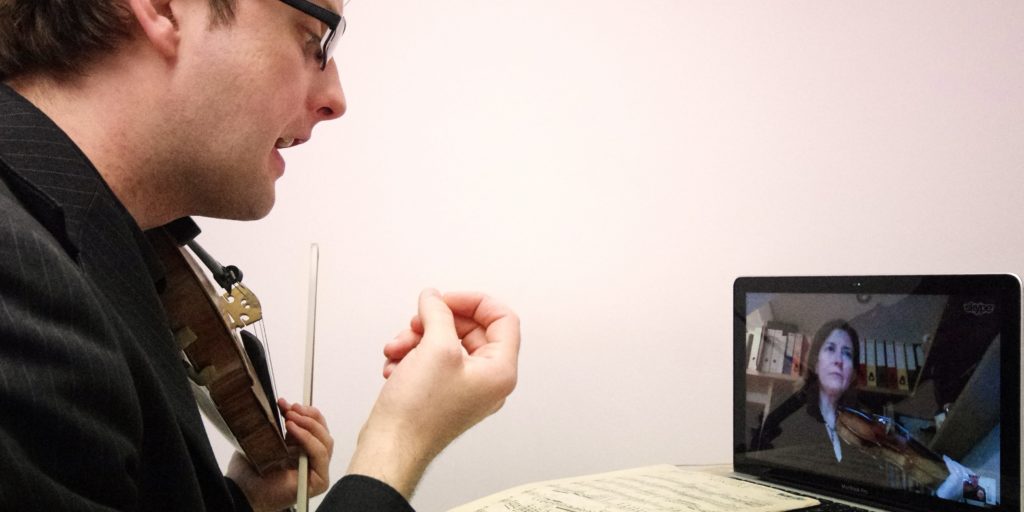
Nowadays, many learners take lessons via webcam using software such as Skype.
Daily practise WILL lead to progress. Yes, there’s the research that says it takes 10,000 hours to master a skill, but don’t feel you have to practise for hours every day to see improvement. Much more important is HOW you practise. Work undertaken with focused concentration pays off, but mindless repetition can actually set you back. Study in small time-blocks with lots of breaks, maintaining an awareness of your focus. Before repeating a task, identify where the problem is and what you are aiming to change.
It takes a lot of brainpower to play the violin, but ultimately you make the sound by moving your body. Do some simple warm-up stretches before practising and keep a spot check of your posture throughout the session. Notice any areas of tension, analyse what is causing them (I’m clenching my jaw because I am trying too hard; I’m raising my right shoulder because I’m worried I will drop the bow). If you can’t release the tension by yourself, ask your teacher’s advice. Many problems can be resolved by simply remembering to breathe and maintaining awareness.
A flexible, well-balanced body posture is essential for good violin-playing.
When learning how to manage the violin physically, it is sometimes hard to concentrate on how you sound. And because the violin is placed so close to the left ear, it is not always easy to get a real sense of how the performance sounds to others. Record your practise as often as you can. Listen back, looking for positives as well as points you want to improve.
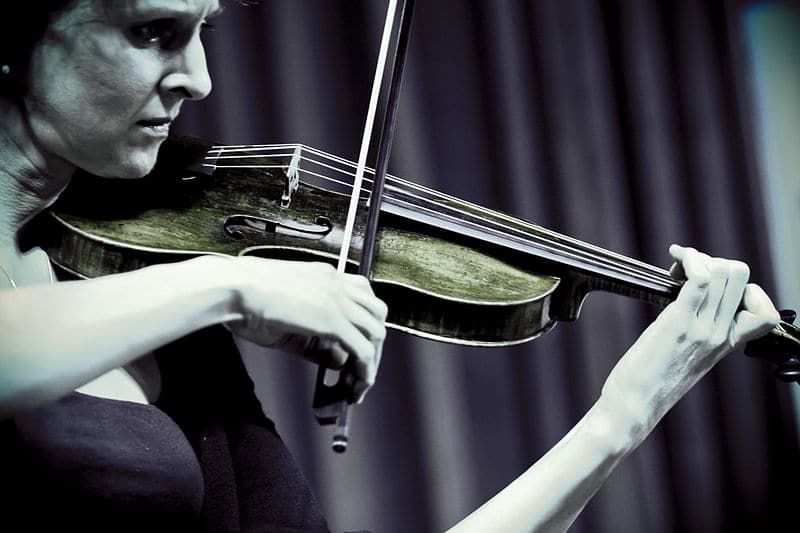
Whatever repertoire you are learning, it is really important to listen to the piece. By listening to other violinists, not only will you develop a well-rounded idea of your piece, you will develop your ear. Passive listening (listening away from your instrument) can improve pitch, tone and phrasing, while active listening (with the music in front of you and the violin or an air violin in your hand) can actually trigger physical improvements and musical insights. For example, miming your bowing along with a section of a recording can deepen your muscle memory of that bowing, and help identify problem areas. There are literally thousands of videos and recordings available on YouTube, featuring some of the greatest violinists who ever lived. Sometimes you can even get ideas for fingerings and bowings by watching your favourite soloist play!
Technical exercises and scales are the building blocks of violin music. Working on these simple patterns out of context of the repertoire gives an opportunity to improve intonation and tone production across the board. Scales also help teach an understanding of key. You’ll find loads of scales and technical exercises in our resource library.
All music, no matter how simple, comes with some historical and social context. Is your piece based on a dance or a song? Who was the composer, and when was it written. For more substantial pieces, it can be interesting to find out why the work was composed and what was going on in the composer’s life at the time. If someone had fallen in love or was suffering from depression, those feelings will be reflected in the music and might inform how you choose to express certain phrases.
A major reason we get nervous during performance is because it is an unfamiliar situation and therefore fraught with pressure. Practise performing, either by simulating performances where you play your piece without stopping to an armchair full of teddy bears or smart phone microphone, or set up performance opportunities with friends. Integrate the act of performing into your preparation and it will soon feel natural.
To give a good performance, you need to practise performing! Make performance practice part of your regular practice habits.
It is easy to panic and feel stressed if things are not going to plan. Whatever your age or playing level, a bad practise session can feel like a personal disaster. If your practise is really going badly, stop! Take a break, go for a short walk, try some breathing exercises or have a glass of water. Never pick up your violin expecting it to feel the same as it did yesterday, that would be like walking into a room and finding everyone in the exact same mood they were the day before.
Begin where you are today, with a sense of exploration. If something will not go right, break it down to open strings, practise some slow bows or go back to relaxed scales.
Here's a wonderful piece of violin history! American virtuoso Itzhak Perlman reminisces about his first meeting, as a student, with the legendary violinist Jascha Heifetz, at the Juilliard School in New York. Heifetz tried to catch Perlman out (though Perlman is too modest to say it like that!), by asking for a really difficult set of scales. Luckily, Perlman had done his practice...
Scales are really important for giving you clarify and confidence in your left hand, and we recommend to build a conscientious scale routine into your regular violin practice. If you're new to this practice technique, check out our article How to Practise Scales which will help you to get started!
Start with the core musical elements
The basic building blocks of music are rhythm, pitch, and sound. When a scale is played well, the pitch is even so all of the notes with the same name in different octaves are in tune with each other. The tone quality and rhythm are even, not disturbed by bow changes or shifts. Evenness does not mean that the scale is robotic. Each note has its own musical character.
Once you have practised your scale so pitch, sound and rhythm are all good, the next thing to go for is to make it feel easy. Simon Fischer suggests that a nice way to do this is that each time you do something well, you should then see if you can achieve the same result with half the effort, then half the effort again. He says that until you can play something well with little effort, there is still room for improvement.
Instead of practising your scales as complete figures, work on the elements of each scale. The scale can be broken down into different components or “problems” such as one octave scales, shifting exercises, exercises for the coordination of left and right hands, finger preparation and finger placement. Rather than repeating a scale mindlessly over and over, search for exercises within the scale to address the particular problems you are having.
Here are some ideas for developing your scale practice…
Developing the Right Hand
Apply rhythms, accents and bowing patterns to all of your scales and arpeggios. This will produce the greatest improvement in the shortest time. Ivan Galamian, the famous violin teacher believed that by learning how to play different rhythm patterns you discover and repair all the weak areas where you don’t really know what to do with the bow and fingers, or where your fingers move too slowly.
Practice with different dynamics. This trains the bow for greater control. Combine crescendos and diminuendos within the space of each octave or between the bottom and top of the scale.
Tone
Play long smooth notes on an open string, for example, the A-string. Listen for the smoothness of tone. Now place your fingers on another string, such as the G-string, in a scale sequence whilst still playing the A. Try to keep the tone of the A as even and smooth as before. Build up the left hand activity to include a shift to third position and back down.
Ideas for the Left Hand
Start at the top of the scale instead of the bottom.
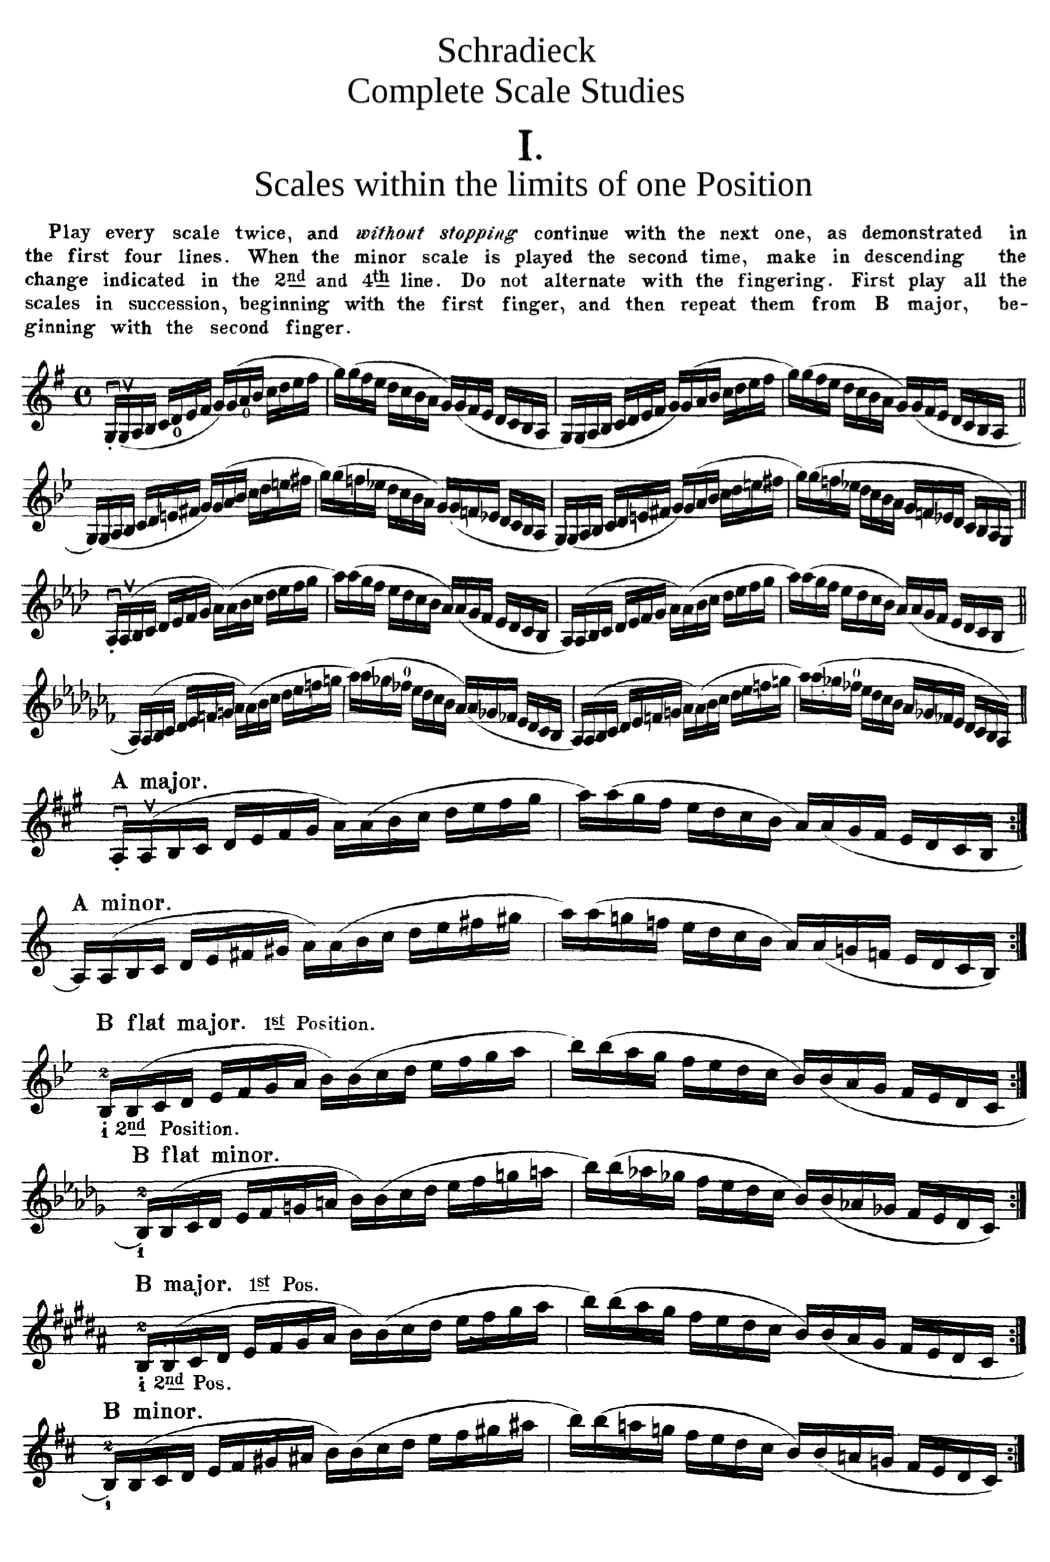
Practice scales within the limits of one position. This exercise is the first in the Schradieck book of scale studies and will teach you the hand positions in every part of the fingerboard.
Intonation
The major scale contains five whole steps and two half steps like this: T T S T T T S. If you think of this pattern as two groups of four notes that are joined by a tone, you can see the symmetry of the shape.
A scale should be built so that each note is heard relative to its position in the key. Each note of the scale has a unique hierarchical function and understanding this is important for building good intonation. The great cellist, Pablo Casals, and the famous violin teacher Dorothy DeLay both independently used this idea to devise a system for structuring the scale to hear the tuning within it.
Building the scale using this sequence is musically satisfying. Remember to try it in all the major and minor keys you are learning. It is easy to forget to work on all the different keys. In fact, when Carl Flesch first published his system of scales, it was only written out in C major, the idea being that his students would use the exercises in every key. Flesch realised that in reality many students only practised C major, so he wrote out the system in every key and even added bowing and rhythm patterns, and this is how Das Skalensystem was created.
Take a small section of your scale. Notice which fingers you can leave down and which you need to lift. By leaving fingers down you will give strength to the hand shape, making intonation more reliable, and by avoiding unnecessary finger movements you will gain an economy of movement, which is helpful when you want to play faster.
Use as many different fingering combinations as you can find, don’t always stick to the same one. By learning different fingerings your intonation will develop and you will have more freedom of expression and musical choice in your pieces.
Speed of Left Hand Fingers
Practice a section of your scale using short, repeated fast bow strokes on each note; say four sautillé notes on each pitch. Learning to sound these short notes will improve coordination between left and right hands and the left hand fingers will learn to move faster.
Shifting
“Trill” the shifts. Take an awkward shift and start working on it slowly, trilling between the two notes. Gradually speed it up to make it sound like a trill.
Practice scales on one string. Take a one-octave scale and learn to play it on one string, keeping a good hand position. Can you play a two-octave scale on one string? This may seem difficult but when you return to your three octave scale it will seem much more approachable.
Practice scales using only first and second fingers, shifting every two notes.
Practice the scale with the note before the shift missed out, instead repeating the previous note.
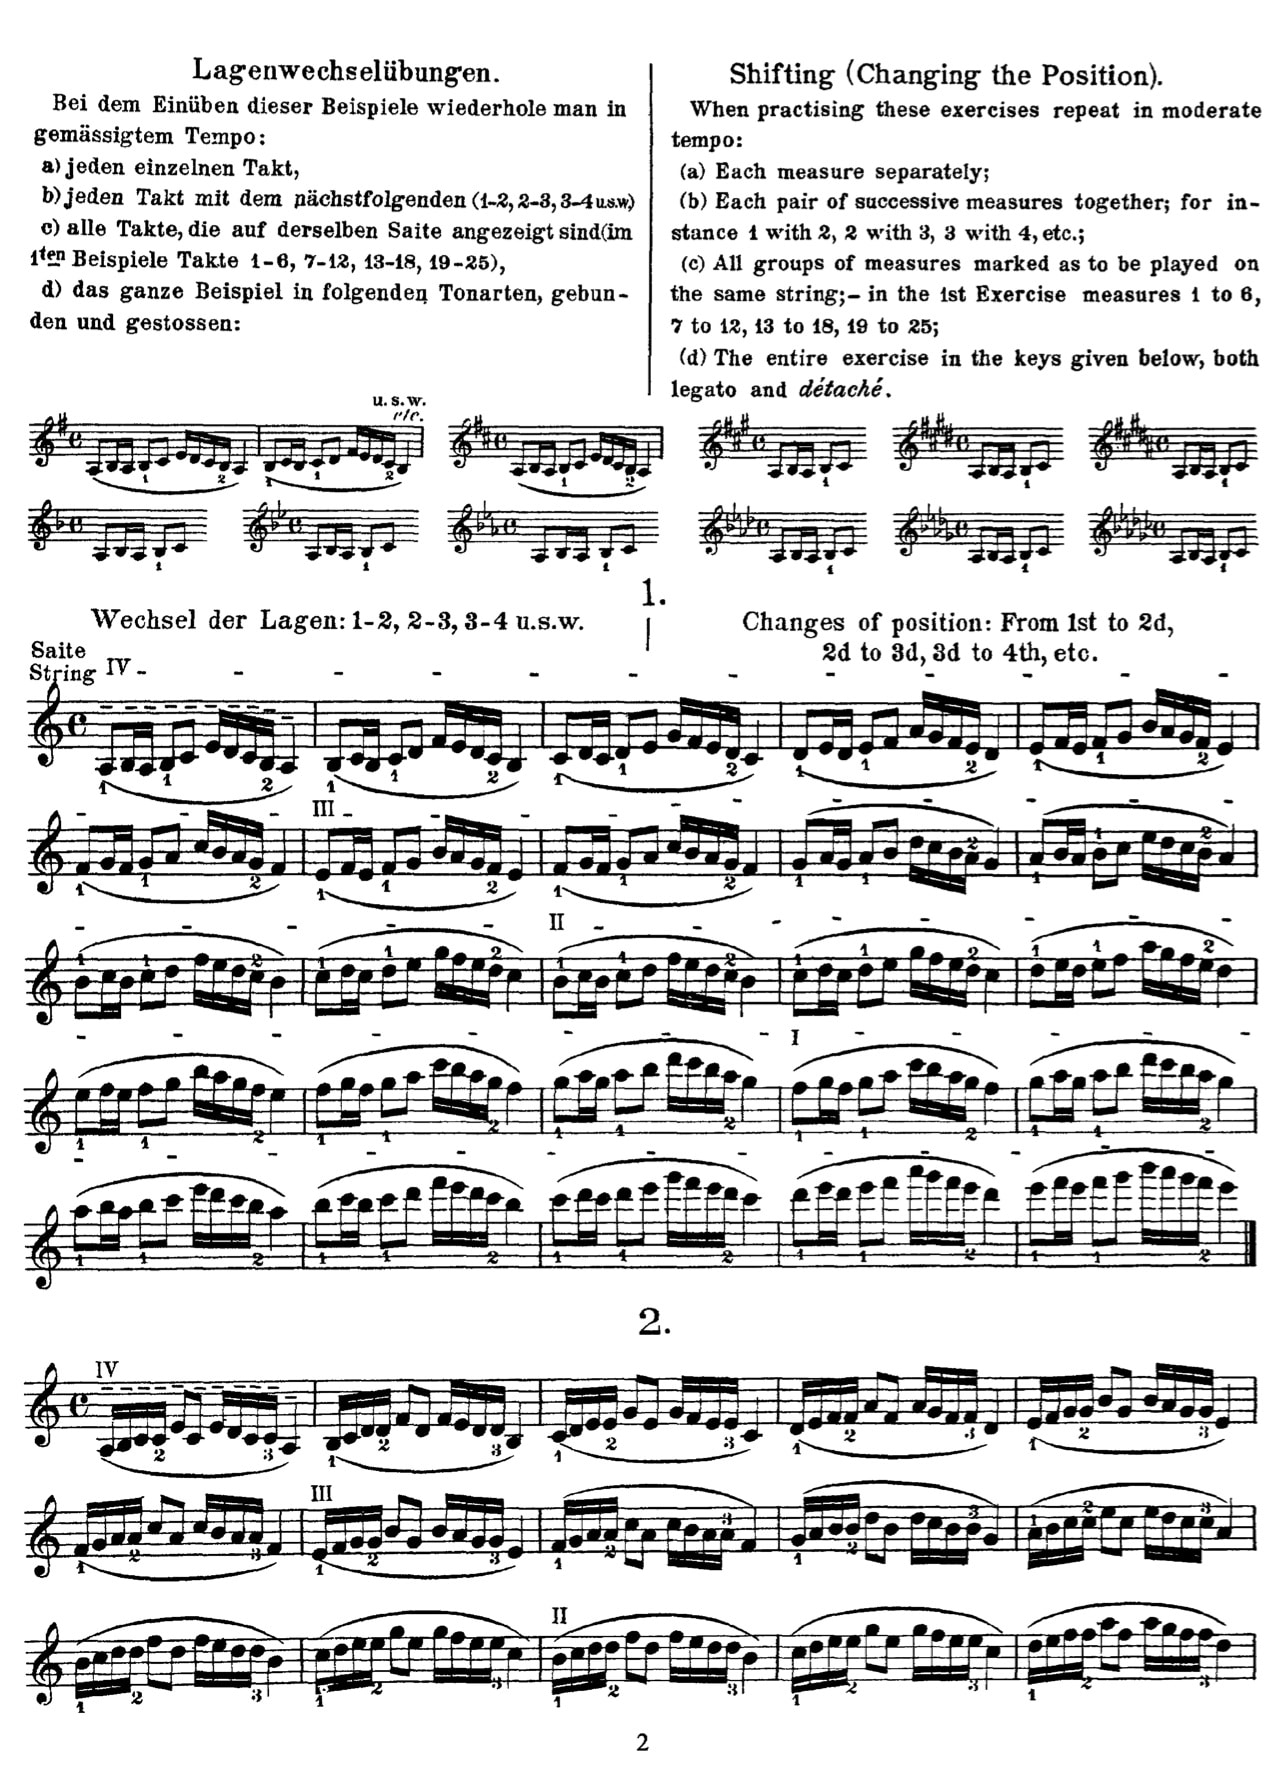
Identify your problem shift and isolate it. Can you find an exercise in the Sevçik book of Preparatory Scale Studies that will help you improve the shift?
Practice your shifts with “ghost notes.” Work out where the hand is going. Is there an intermediate note you can sound? This is particularly good for downward shifts where the hand is going to a position where it lands on a weaker finger. Practice these ghost notes in dotted rhythms and gradually eliminate the extra note whilst keeping an awareness of how the shift works.
Mindfulness
Another benefit of breaking your scales down into their separate elements is to give you a chance to learn to use your body in a comfortable, natural way. Practising long scale sequences in a mechanical way leaves no space for awareness and leaves you vulnerable to strain and injury. Breaking down your scale practice into bite-size exercises leaves the mental space for mindfulness of how the muscles are achieving the end result. This will give you better, more secure, long-term results.
Improving Your Scales
In the introduction to his book of scales, Contemporary Violin Technique, Ivan Galamian explains, “The direct way to … mastery lies through working procedures which present a constant challenge to the … thinking processes. For this reason new problems must always be faced and solved.”
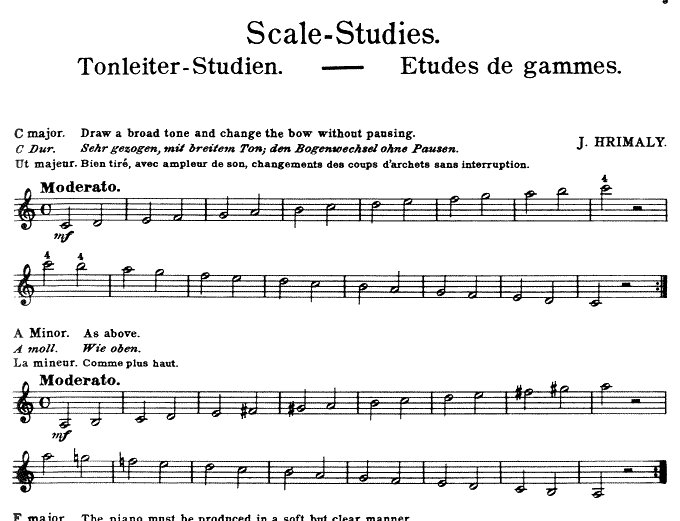
There are various books of scale studies available, the newest of which is Scales by Simon Fischer; a written-out practice full of comprehensive exercises for improving scale practice. There are also the scale studies by Jahnke, Hrimaly, Schradieck and Sevçik which can look a bit intimidating, but many of which contain similar ideas. For less advanced exercises try the Paul Harris series, Improve Your Scales, which are graded by the ABRSM system, so they start right at the beginning.
Practice in as creative a way as you can so your mind is always switched on and always learning. By analysing and exploring the elements of a scale and practising it in different ways, the original scale will seem much easier when you return to it, and your enjoyment of your scale practice will increase. There is nothing worse, after all, than practising something you find boring and not getting anywhere!
